
Storm Damage Roof Repair in Boston: Steps, Claims & Timeline

After storm damage Boston homeowners should take four steps in order: secure the interior and catch active leaks, arrange emergency tarping to stop water, document everything with photos and video, and report the claim to your insurance company. Permanent repair comes after that, once the damage has been inspected.
This guide walks through each step, explains how the claim process works, lays out the repair timeline in phases, and shows how to decide between roof repair and roof replacement. It also covers what to look for in a contractor when roof damage is fresh and decisions feel rushed.
Table of Contents
Storm Damage Boston: What to Do First
Start inside the house. Move electronics and belongings away from leaks, and place buckets under active drips. Keep electrical devices well away from water, since water near power is a safety risk.
Next, stop water from getting in. A temporary tarp over exposed decking or torn shingles limits further damage until a permanent repair can happen. Contact a local contractor and ask whether emergency tarping is available.
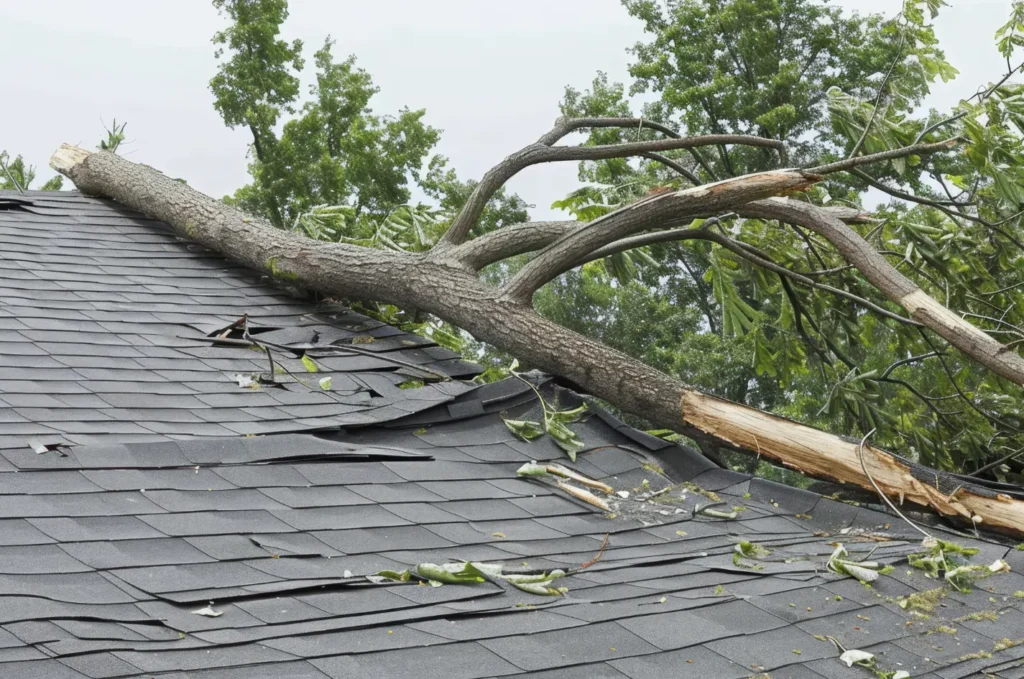
Then document the damage and contact your insurer. Photos, video, and a clear record of what happened give the claim a strong starting point. The order matters because each step protects the one after it.
Storm Damage Boston: Protecting Your Home Before the Roofer Arrives
Protecting the home means limiting damage without making it worse. Buckets and tarps are stopgaps, not repairs, and they should buy time rather than replace a proper fix.
Avoid climbing onto a wet or damaged roof. Wet surfaces are slippery, and a storm-damaged roof may not be stable. Tarping is safer in professional hands.
One rule from state guidance is worth remembering: temporary protection is fine, but wait for the adjuster to inspect before making permanent residential roof repair. Keep your receipts for any emergency work, since those costs may matter for the claim.
Storm Damage Boston: How to Document Roof Damage
Good documentation makes a claim easier to support. Take photos and video of the damage before anything is moved or cleaned up, and capture both wide shots and close-ups.
Include the inside of the house as well as the roof. Water stains and wet insulation connect the roof damage to the indoor damage.
What to Photograph
- The roof surface: Missing, torn, or lifted shingles, from the ground or a safe viewpoint.
- Fallen branches or debris: Show the object and where it landed.
- Gutters and flashing: Bent gutters, loose flashing, or displaced pieces.
- Ceilings and walls: Stains, bubbling paint, or active drips.
- Attic: Wet insulation, damp decking, or daylight showing through.
Add dates and short notes to the files so the timeline is clear.
How Does the Insurance Claim Process Work?
The claim process starts with reporting the damage to your insurer as soon as possible. Coverage depends on the cause, so storm, wind, and fallen-limb damage is more likely to be covered than wear and tear.
An adjuster then reviews the damage. A contractor’s inspection report and photos can support your claim by showing exactly what was found.
Be careful with paperwork. Some contractors ask homeowners to sign an assignment of benefits, which hands your claim rights to the contractor. You are not required to sign one to get repairs done, so read anything before you sign.
A Typical Claim Sequence
- Report the damage: Contact your insurer promptly and describe the storm event.
- Protect the property: Use temporary measures and save receipts.
- Share documentation: Provide photos, video, and any contractor report.
- Adjuster inspection: Wait for the inspection before permanent repairs.
- Compare estimates: Get more than one bid and share them with your adjuster if asked.
Policy terms, deductibles, and decisions vary, so confirm the details with your insurer.
Storm Damage Repair Timeline: What Happens and When
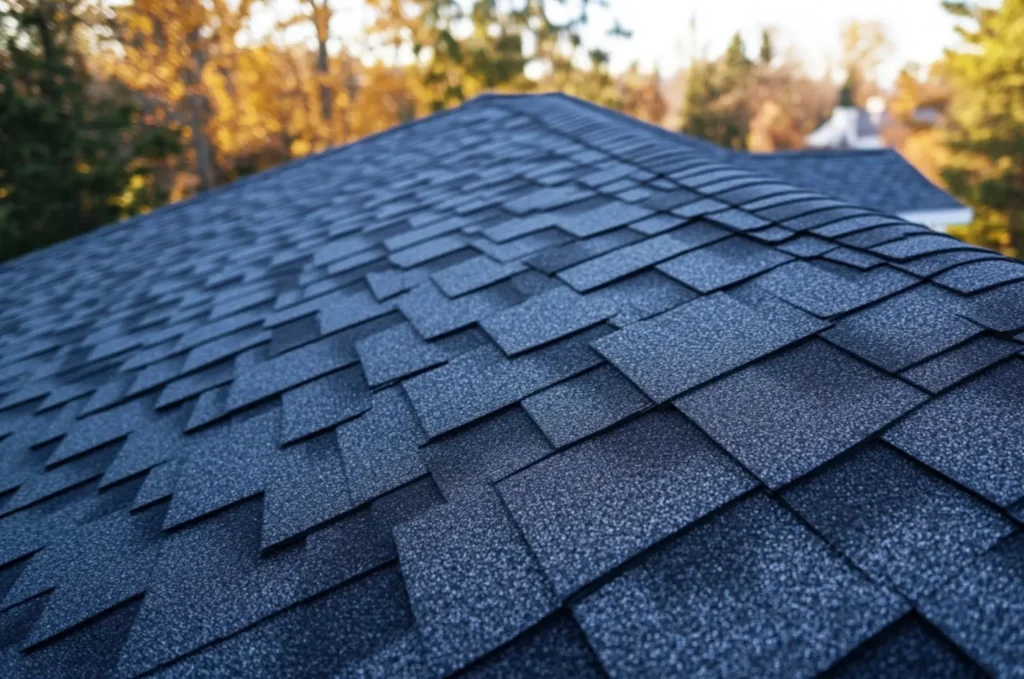
The repair timeline moves in phases, and the pace depends on the insurer, the contractor’s schedule, and the weather. No single schedule fits every storm, so treat these phases as a sequence rather than a calendar.
From Storm to Permanent Repair
- Immediately: Secure the interior, catch drips, and arrange emergency tarping.
- First days: Document the damage, report the claim, and get a roof inspection.
- Adjuster stage: The insurer reviews the damage and decides what is covered.
- Estimates and scheduling: Compare bids, choose a contractor, and book the work.
- Permanent repair: Repairs or replacement happen once materials and weather allow.
Prompt action at the start usually shortens the stress at the end.
Roof Repair or Roof Replacement After a Storm?
Small, isolated storm damage, such as a few torn shingles or a bent flashing, can usually be handled with roof repair. The inspection decides, not the size of the storm.
Widespread damage points toward replacement. Signs include shingles missing across multiple slopes, damaged decking, or leaks that return after repairs. An older roof with storm damage may also be a better candidate for replacement, because spot repairs on aging shingles often do not last.
Ask the contractor to explain what storm damage repair would involve and what roof replacement would add. A clear comparison helps you decide, and it gives your adjuster the information they need.
Preparing Your Roof for the Next Boston Storm
You cannot control the next storm, but you can prepare for it. Photograph your roof in good condition now, so you have a baseline if damage happens later.
Keep gutters clear and trim branches that hang over the roof. Schedule an inspection after major storms, even if you see no obvious damage, since small gaps can turn into leaks later.
If you are searching for roof repair Boston homeowners can rely on, start before an emergency. Knowing who to call, and what they offer, saves time when water is already coming in.
Choosing a Contractor After Storm Damage
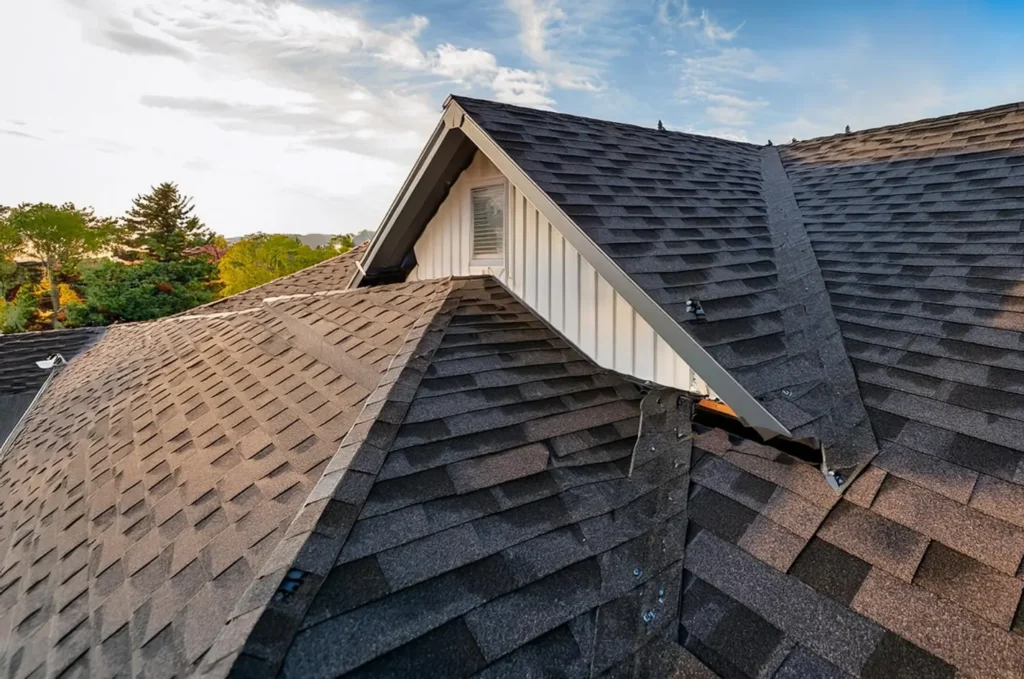
Storms bring out contractors of every kind, so it pays to slow down briefly. Choose a local company, ask for references, get more than one estimate, and read any contract carefully before signing.
A trustworthy roofer explains what caused the damage, shows photos, and does not pressure you. Ask whether they provide emergency tarping and a written inspection report, since not every company does.
CAN Roof Construction offers roof repair, inspection, and replacement in Boston, with free, no-obligation roof inspections and a 10-year warranty on every project.
Contact us to schedule an inspection today.