Roof Replacement Process Explained: Your Complete Guide
Getting a new roof is a big project. It can feel hard if you do not know what to expect. Many homeowners have questions about the process. Understanding the steps makes everything easier. You can prepare better. You can make smarter decisions. You will feel more confident working with contractors.
Before starting the process, you need to know if you actually need a new roof. Sometimes repairs are enough. Other times, a full roof replacement is necessary.
Table of Contents
Signs You Need a Roof Replacement
Your roof’s age is a good indicator. Most asphalt shingle roofs last 20 to 25 years. If your roof is this old, replacement is likely needed soon.
Look for visible damage on your roof. Missing shingles are a clear sign of problems. Curling or cracking shingles also indicate wear. If you see many damaged areas, replacement may be better than repairs.
If you notice several of these problems, it is time to consider replacement. A professional roof deck inspection can confirm whether you need a new roof.
Step 1: Getting a Roofing Estimate
The roof replacement process starts with estimates. You should get quotes from roofing contractors.
During the estimated visit, the contractor examines your roof. They look at the size and slope. They check the current condition. They note any special challenges. The contractor will ask about your preferences. What roofing materials do you want? Do you have a specific timeline?
It lists materials, labor, and permits. It shows the total roof replacement cost clearly. Always get written estimates before making decisions.
Step 2: Choosing Your Roofing Materials
Next, you need to select your roofing materials. This is an important decision. Your choice affects appearance, durability, and cost.
Asphalt shingles are the most popular choice. They are affordable and come in many colors. They work well in most climates. Most homeowners choose asphalt for their roof replacement.
Metal roofing is becoming more popular. It lasts longer than asphalt. It resists fire and strong winds. The initial cost is higher but it can save money over time.
Other options include clay tiles, concrete tiles, and wood shakes. Each has advantages and disadvantages. Consider your local climate when choosing. Some materials work better in certain weather conditions. For example, for coastal areas like Downtown Salem you need metal roofing. Think about how the material will look on your home too.
Step 3: Obtaining Permits
Most areas require permits for roof replacement. Your contractor usually handles this step. But you should understand what is involved.
Permits ensure the work meets local building codes. Inspectors check that everything is done correctly. This protects you and your investment.
Step 4: Preparing for the Project
Move cars away from your home. Roofing crews need space to work. They will place equipment and materials near your house. Keep driveways and nearby areas clear.
Protect items in your yard. Cover plants and outdoor furniture. Debris will fall during the old roof removal. Protecting your belongings prevents damage.
Prepare inside your home too. Vibrations from roofing work can shake walls. Remove fragile items from shelves. Take down hanging pictures near exterior walls.
Step 5: Removing the Old Roof

Now the actual work begins. The first major task is removing your old roof. This is called the tear-off or shingle removal phase.
Workers remove all old shingles from your roof. They take off the underlayment too. Everything is stripped down to the roof deck.
This step is messy and loud. Large amounts of debris fall to the ground. Crews use tarps to catch materials and protect your landscaping.
Step 6: Inspecting and Repairing the Deck
With the old materials removed, workers inspect the roof deck. This is the wooden base of your roof. It must be solid before installing new materials.
Workers look for rot, damage, and weak spots. Any problems must be fixed first. Damaged wood is replaced with new boards.
This step is very important. A weak deck cannot support a new roof properly. Repairs now prevent bigger problems later.
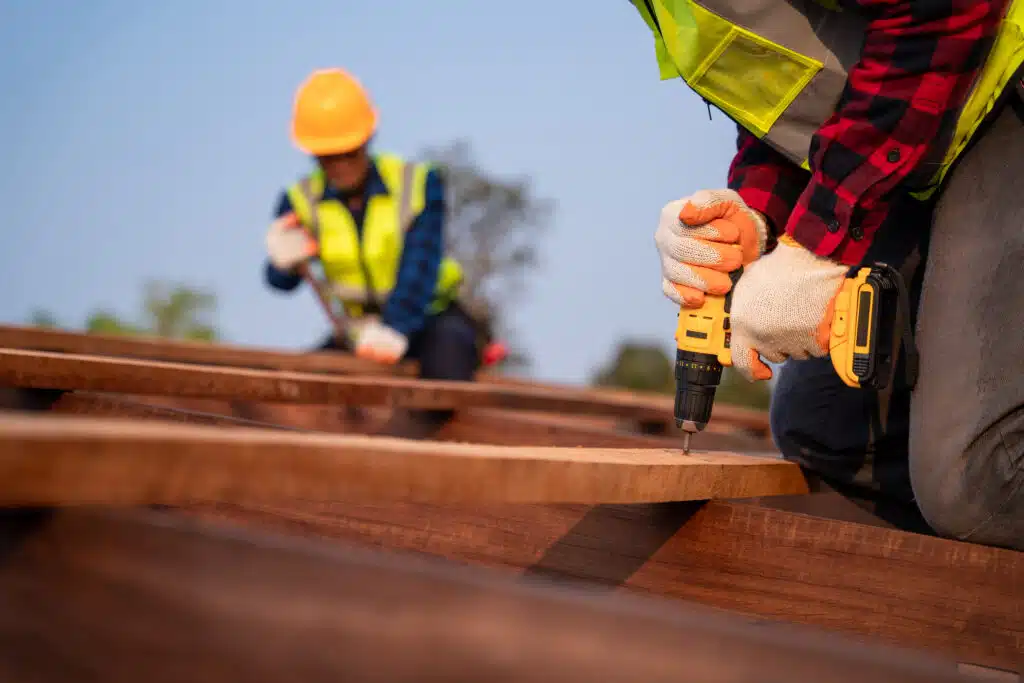
Step 7: Installing the New Roof
Finally, your new roof installation begins. This is what you have been waiting for. Workers install all the new materials layer by layer.
First, they install the underlayment. This is a protective barrier on the deck. It provides extra protection against water.
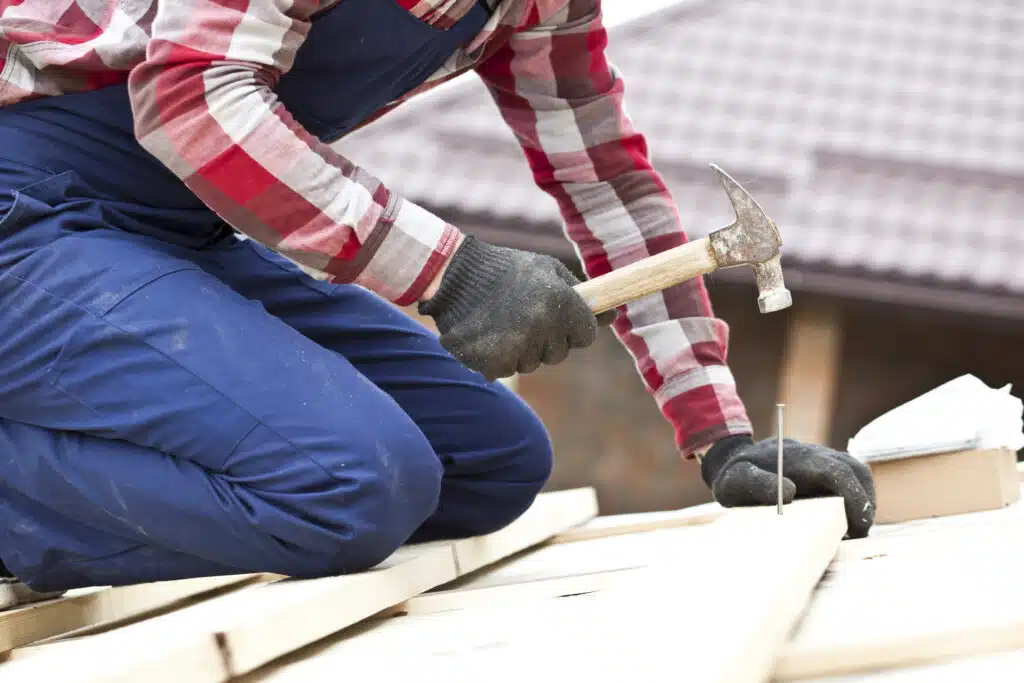
Next comes the new roofing material. Shingles are nailed in overlapping rows. Workers start at the bottom and work upward. Each row overlaps the one below.
Flashing goes around chimneys, vents, and edges. This metal material prevents leaks at vulnerable spots. Proper flashing installation is critical.
Ridge caps complete the top of the roof. Vents are installed for proper attic ventilation. Every detail is finished carefully.
Step 8: Final Cleanup and Inspection
Workers use magnetic tools to find nails. They check the ground and landscaping carefully. All debris is loaded and hauled away.
A final inspection ensures quality work. The contractor checks every part of the new roof. Some areas require official building inspections too.
Conclusion
The roof replacement process involves many steps. From estimates to final inspection, each step matters. Understanding this process helps you prepare for your project.
A new roof protects your home for decades. It improves curb appeal and adds value. Investing in quality materials and installation pays off over time.
Ready to start your roof replacement? Contact CAN Roof contractor today. Get your roofing estimate and begin planning your project.