- 5.0 from 90+ reviews
Roof Repair Service
in Boston, MA
Need expert roof repair service in Boston MA? We provide professional roof repair solutions, fixing leaks, storm damage, and general wear and tear. Our skilled team ensures durability and protection, keeping your roof in top condition year-round.


FEATURES
Why Choose CAN Roof Construction for Roof Repair Service in Boston?
Looking for a trusted roof repair service in Boston? Your roof does more than just cover your home – it protects your family from Boston’s unpredictable weather. Why CAN Roof Construction? Because we specialize in certified roofing solutions that ensure durability and long-term protection. We provide reliable, professional service you can count on, with a focus on quality and customer satisfaction.
Expert Roofers with Proven Experience
With over a decade of experience, our roofing specialists have successfully completed hundreds of roof repair projects for both residential and commercial properties. We are fully licensed, insured, and certified by industry leaders like GAF, Owens Corning, and CertainTeed. Our expertise covers all roofing types, including asphalt shingles, metal, rubber (EPDM), and slate, ensuring precision in every repair.
FREE Roof Inspection & Advanced Diagnostics
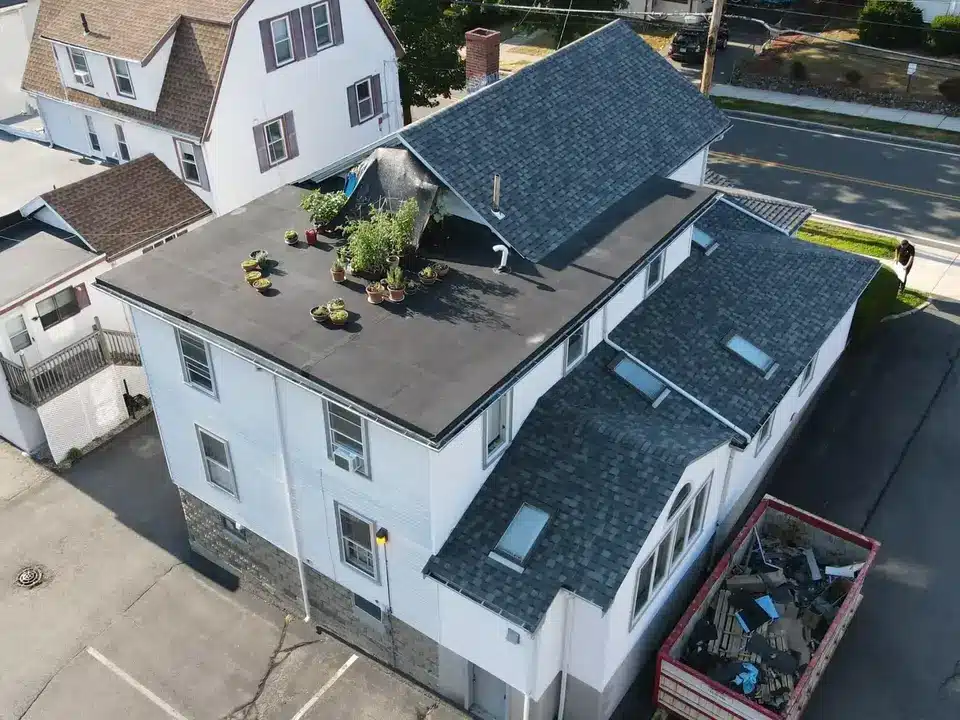
Every repair begins with a detailed, no-cost roof inspection. Using drone imaging and infrared moisture detection, we identify hidden leaks, compromised flashing, and underlying structural concerns before they escalate into bigger problems. Our comprehensive evaluation helps us create a repair plan tailored to your roof’s specific needs.
High-Quality Materials for Long-Lasting Protection
Temporary fixes don’t cut it in Boston’s climate. We only use top-tier, manufacturer-approved materials that guarantee resilience against severe weather:
- Asphalt shingles from GAF & CertainTeed, offering a perfect balance of affordability and durability.
- Rubber roofing (EPDM & TPO), ideal for flat roofs, ensuring waterproofing and temperature resistance.
- Slate & tile repairs, preserving the historic character of homes while providing exceptional longevity.
- Metal panel replacements, offering energy efficiency and resistance to wind, fire, and corrosion.
Each repair meets or exceeds manufacturer standards, ensuring your roof remains structurally sound and weatherproof for years.
Storm Damage & Emergency Roof Repair
Severe weather can cause sudden roof damage – whether from fallen branches, ice dams, or high winds. We offer 24/7 emergency roofing services in Boston, providing immediate coverage with durable tarping while preparing for permanent restoration. Additionally, we assist homeowners with insurance claims, ensuring you get the compensation you deserve for storm-related damage.
Comprehensive Repair Beyond Just Shingles
A long-lasting roof repair extends beyond just replacing damaged shingles. Our team ensures that:
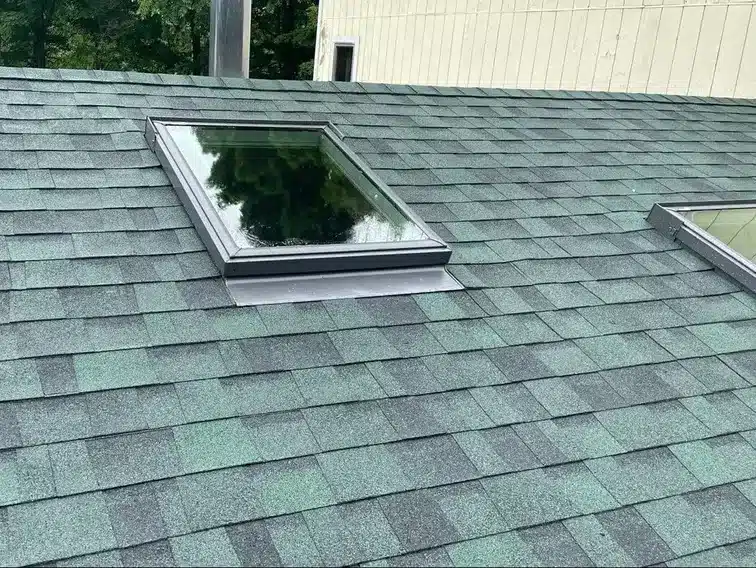
- Flashing around chimneys, skylights, and vents is properly sealed, preventing future leaks.
- Ventilation systems are inspected and improved, reducing moisture buildup and increasing energy efficiency.
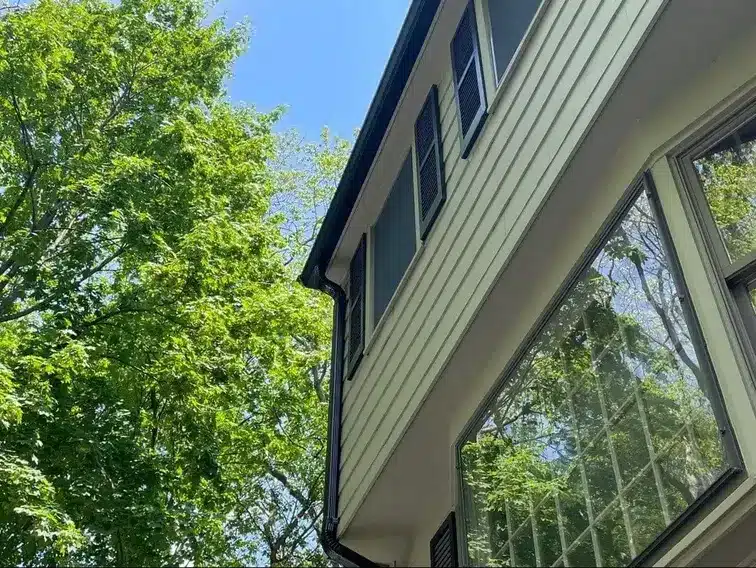
- Gutters and downspouts are cleaned and adjusted, ensuring proper water drainage to protect your home’s foundation.
Honest Pricing with No Surprises
We believe in clear and upfront pricing with no hidden costs. Every customer receives a detailed breakdown of material and labor expenses, ensuring transparency in every step of the process. Our team is committed to offering flexible financing options, allowing Boston homeowners to access high-quality roof repairs without financial strain. The price we quote is the price you pay – no unexpected charges, no last-minute surprises.
Your Trusted Roofing Partner in Boston, MA
At CAN Roof Construction, we go beyond repairs – we restore safety, value, and long-term protection to your property. With expert craftsmanship, top-tier materials, and a commitment to superior customer service, we ensure that every roof repair is built to withstand Boston’s toughest conditions.
Need fast, quality roof repair service in Boston? Contact CAN Roof Construction today for a FREE inspection and get your roof restored by certified professionals!
Projects
Showcasing Our Work in Every Detail
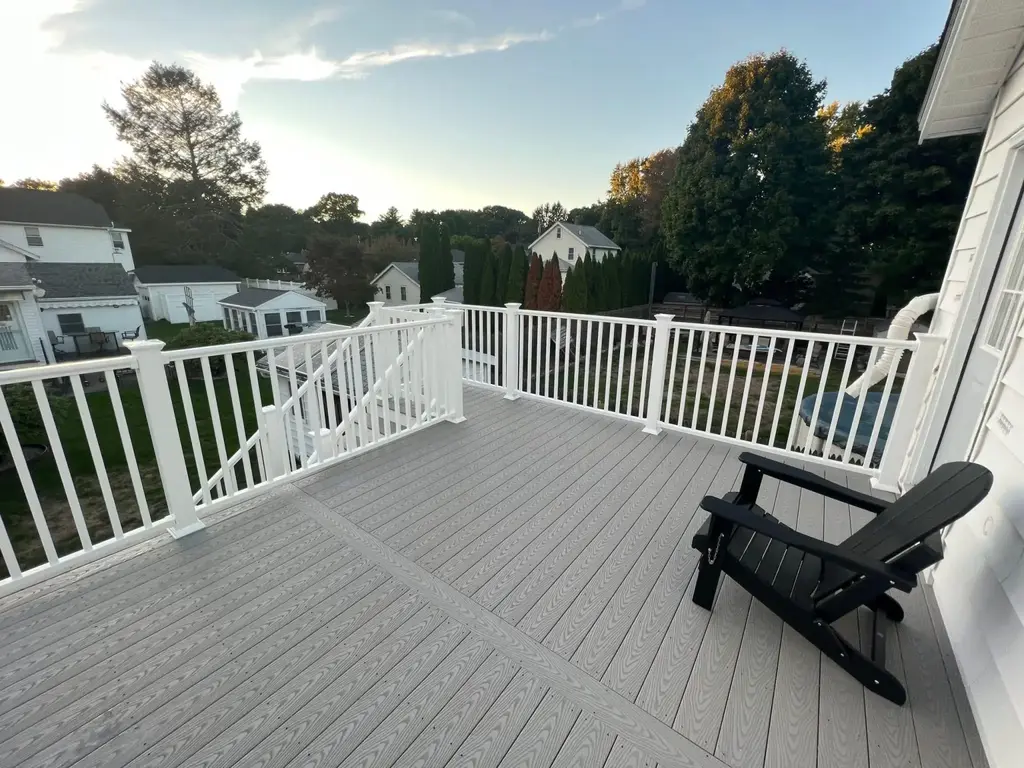
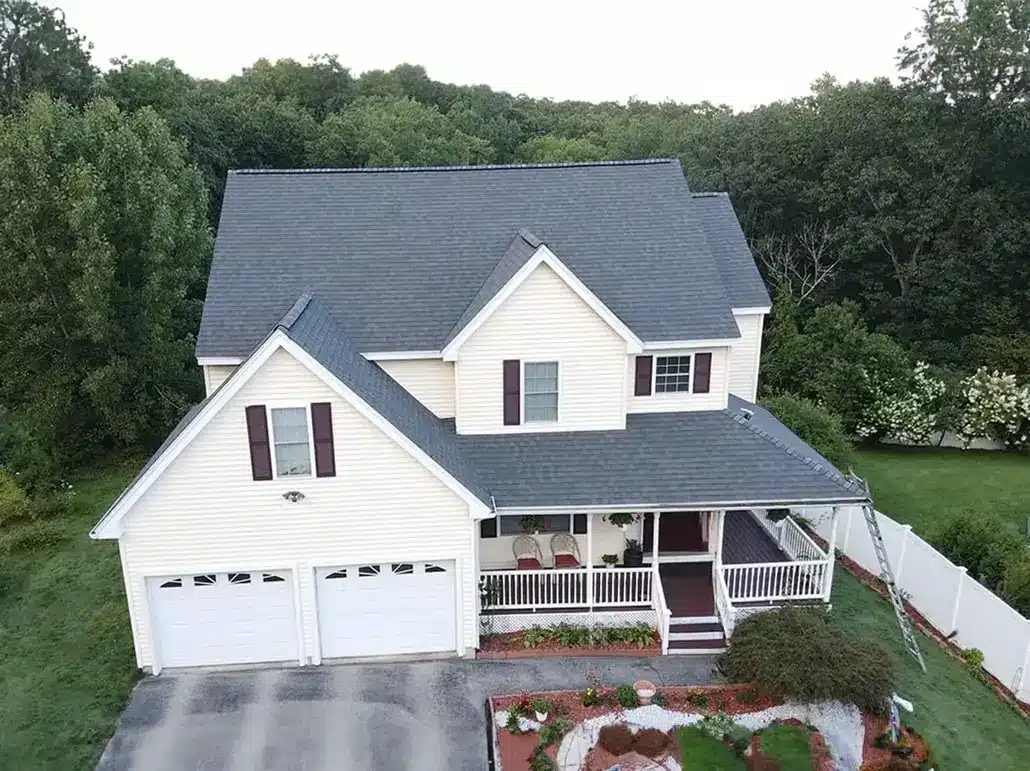
Step into the world of CAN Roof Construction and discover a gallery of our finest roofing projects in c. From sturdy roofs to elegant decks, skylight installations to efficient gutter systems, we’ve got it all covered. Browse all our projects now to see how we can transform your home!
guarantee
Reliable Roofing in Boston for Years to Come
We guarantee durable, high-quality roofing with expert craftsmanship and long-term protection.
-
10-Year Roofing Warranty for Boston Homes & Businesses
We are deeply committed to ensuring the excellence of our roofing materials, and as a testament to our confidence, we offer a comprehensive 10-year warranty to provide you with the utmost peace of mind.

-
Quality Guarantee for Superior Roofing Materials
Our skilled team in Boston takes great pride in their craftsmanship and is dedicated to ensuring that only the most superior, weather-resistant roofing materials are used to enhance and extend the lifespan of your roof.

reliable
Your Trusted Choice for Roof Repair in Boston, MA
Asphalt shingles stand out as a preferred roofing material for several reasons. Our choice of asphalt shingles reflects our commitment to quality and reliability. They offer proven durability and performance, aligning perfectly with our dedication to providing top-notch roof repair service in Boston.
Versatile
Available in various styles, colors, and materials to match any home’s architecture and design preferences.
Durable
Withstanding harsh weather conditions, ensuring long-term protection for your home.
Cost-Effective
Balancing affordability and performance for reliable protection without excessive costs.
Easy Maintenance
Simple installation and repair, reducing labor and time for efficient upkeep.
Let's Fix Your Roof!
Local Asphalt Roof Repair in Boston, MA
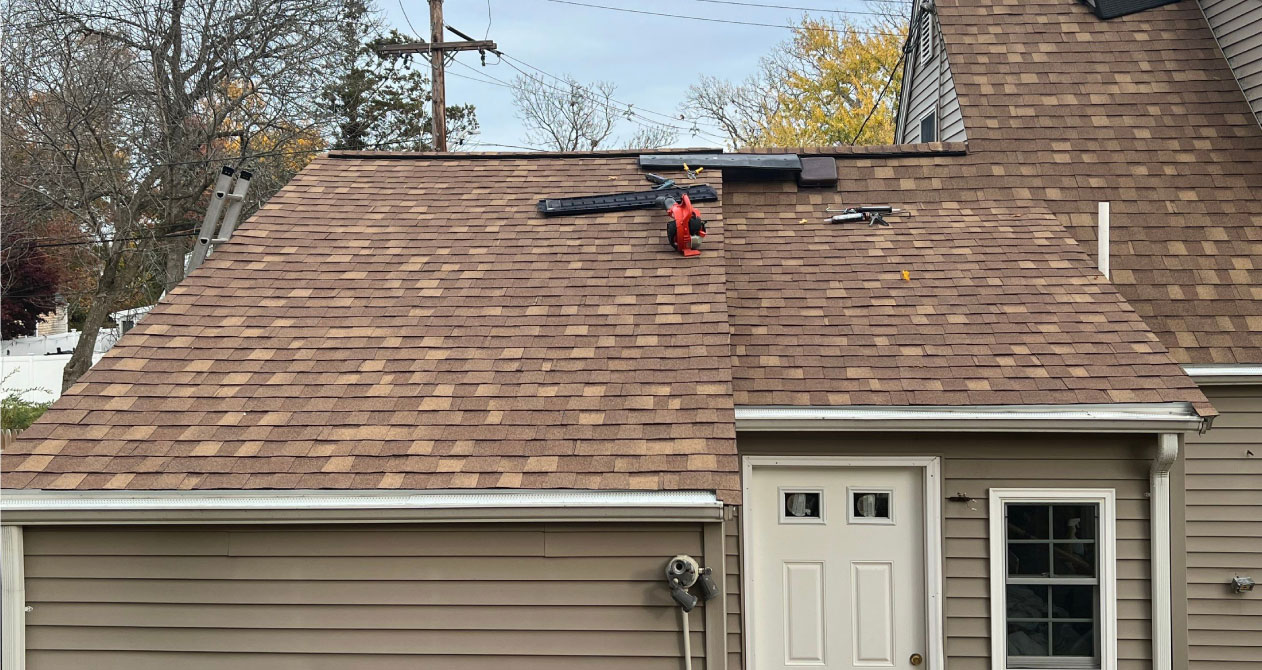
Asphalt shingles are a popular choice among Boston homeowners thanks to their affordability and aesthetic versatility. However, after years of exposure to rain, UV rays, and freeze-thaw cycles, shingles may crack, curl, or lose granules—leaving your home vulnerable to leaks and heat loss. Our asphalt roof repair services are designed to restore protection and appearance without the need for a full replacement. We match new shingles to your existing roof and use high-quality underlayment and sealants to ensure a watertight finish, built to withstand Boston’s changing climate.
-
Restores appearance and function of worn shingles
-
Protects against moisture and wind damage
-
Extends roof life without full replacement
See All Asphalt Roof Repair Locations
Local Shingle Roof Repair in Boston, MA
Shingle roofs are one of the most common roofing systems in Boston, favored for their cost-effectiveness and adaptability. However, shingle roofs can suffer from weather damage, granule loss, and lifted edges that compromise waterproofing and energy efficiency. At CAN Roof Construction, we perform shingle roof repairs using carefully matched materials and industry-standard sealing techniques. Whether you’re missing a few shingles or dealing with widespread damage, we restore protection while enhancing your home’s curb appeal.
-
Seamless shingle matching for a consistent appearance
-
Stops leaks and prevents attic mold or rot
-
Maintains insulation Boston’s wind and weather
See All Shingle Roof Repair Locations
FAQ
Find Answers to Your
Roof Repair Service Questions
Look out for signs such as water stains on ceilings, missing or damaged shingles, visible leaks in the attic, or sagging areas. If you notice any of these issues, it’s crucial to schedule a professional roof inspection promptly to assess the extent of the damage and determine the necessary repairs.
The decision between repairing and replacing your roof depends on factors like the extent of the damage, the roof’s age, and your budget. If the damage is isolated and your roof is relatively new, repairs may be sufficient. However, for extensive damage or an aging roof, replacement might be a more cost-effective and long-term solution. Consulting with a Boston roofing professional can help you make an informed decision based on your specific circumstances.
The duration of roof repair in Boston depends on several factors, including the extent of the damage, weather conditions, and the type of roofing material. Minor repairs may take just a few hours, while more extensive repairs could take a day or more. Our team will assess the situation and provide you with an accurate repair timeline during the inspection process.
CAN Roof Construction provides a range of roof repair service in Boston MA, with a focus on high-quality asphalt shingles. Our experts guide you through the benefits of asphalt, considering its durability, affordability, and aesthetic appeal. We source materials from trusted suppliers to guarantee a long-lasting and resilient roof.
