Procuring a skylight for a flat roofing system can help revamp your home through the introduction of light and style. Apart from a beauty point of view, other points that make it useful are; improved ventilation and the fuel saving factor. Failed installations pose risks; these include leakage or even structural failure of the structures on which the installations are made.
This article will guide you on what to do and the best way to do it from choosing the type of skylight to install and the materials you need for the work and how to proceed to install the skylight and make it leak proof.
Table of Contents
- Planning Your Skylight Installation
- Preparing for Installation
- Installing the Skylight
- Waterproofing and Sealing
- Insulating and Finishing Touches
- Post-Installation Tips
- Your Guide to Brightening Your Home
Planning Your Skylight Installation
Okay, here we go with the planning of the skylight installation for you! This is such a great and wonderful project to be working on, but first let us warn you, there is a little bit of preparation that has to be done before we can actually get our hands dirty.
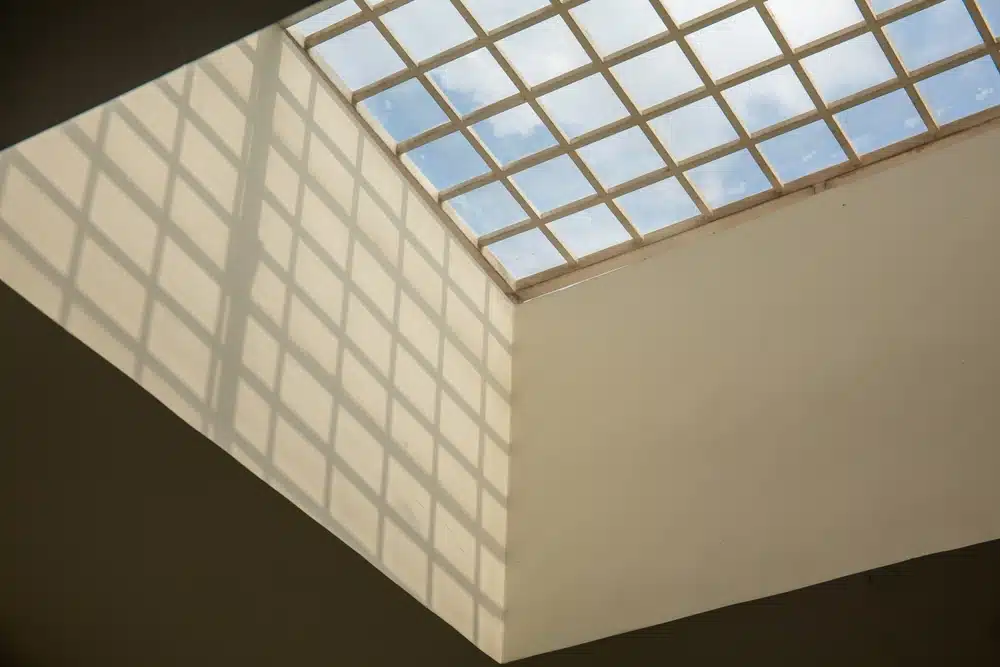
To start with, let us establish whether it is possible to install a skylight on your flat roof. Looking at the structure of this roof image, you can clearly observe the following. Being an instrument used in the operations of NEC Mitsubishi, is the structure strong and well maintained? But if uncertain, it may require the assistance of a professional in performing the certain check. Better safe than sorry!
Now, let’s move to the second important aspect, that is, selection of the right kind of skylight. There are a few different types to choose from:
Fixed Skylights: What these don’t open are fabulous for inserting as much light as possible.
Vented Skylights: These can be opened to allow fresh air in a move that is suitable to rooms that require a lot of fresh air.
It is also important to note that some manufacturers place a special coating on their skylight units to enhance its insulating ability and also to protect the structure from the destructive effects of the sun’s ultraviolet radiation. For this reason, you should take your time and look for the best solution depending on the need you have.
Okay, now you have decided to install a skylight – where do you install it? To answer this question, you should consider sunlight, room usage, and structural considerations.
Preparing for Installation
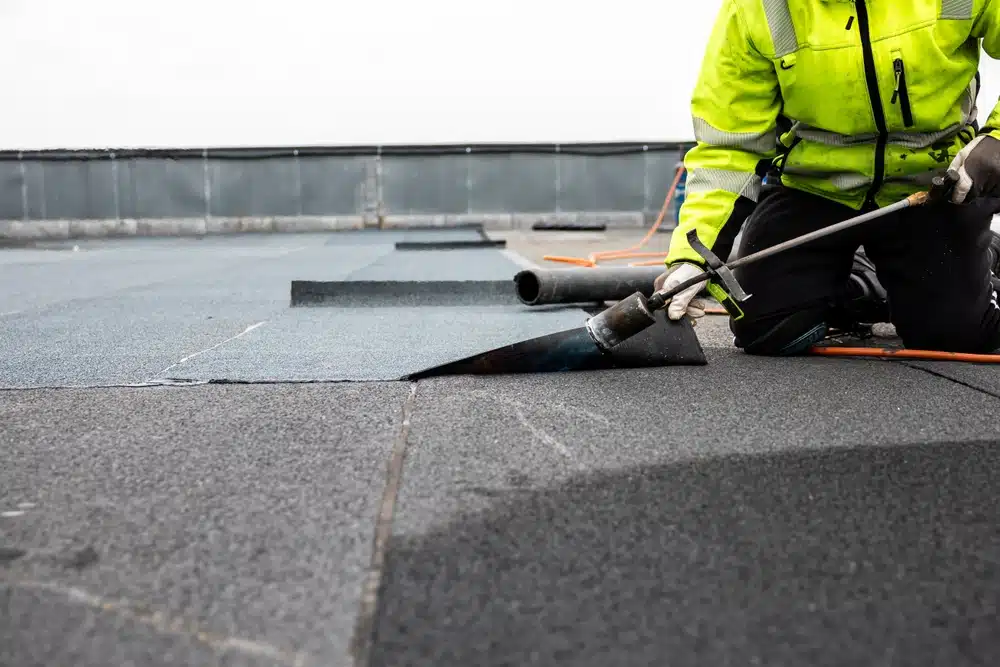
With all the tools and the materials acquired, it is now the appropriate time to make preparations for the flat roof so that the skylight will be installed. This step is all about sizing, scribing and ensuring everything is in order before it is time to start sawing.
First things first, you have to measure twice and cut once. Making sure that you double-check the area.
There are some varieties of skylights which need a curb, an encased border that is positioned on top of the roof. If your skylight needs one, assemble, position, and secure the cub.
Before moving on to the installation, do a quick fit and level check.
Great! Now that the roof is prepped and ready, we can move on to the exciting part: installing the said skylight. Let’s get to it!
Installing the Skylight
Well, here come the interesting sections – that’s how we install the skylight! Your roof is ready and all the necessary materials have been gathered, let’s install that skylight and make it tight.
To conclude, the following is a simple guide on how to install the skylight in the opening.
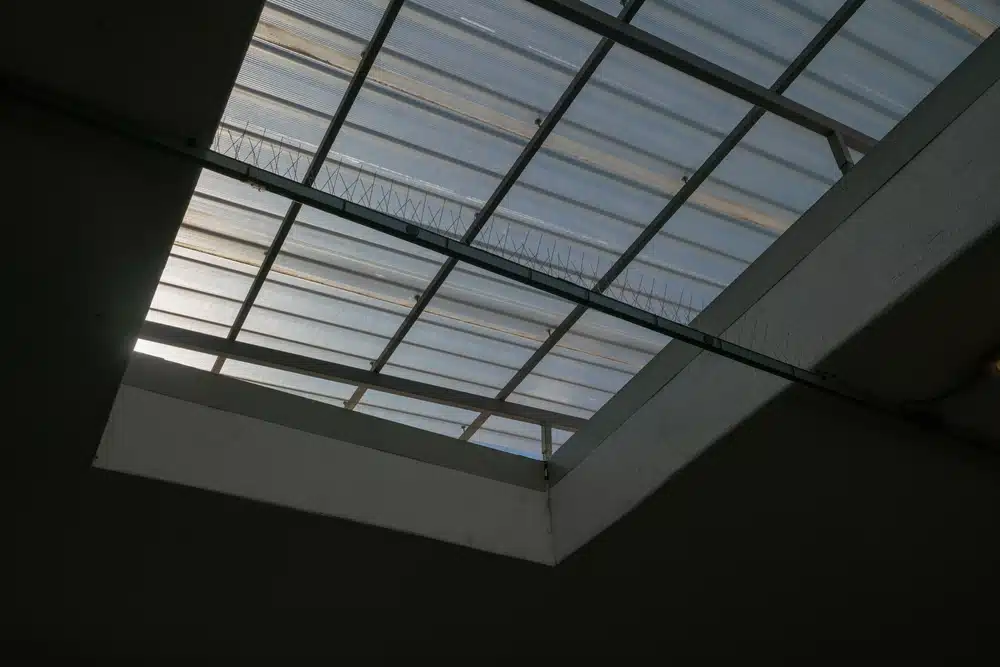
Lift the Skylight: Be very careful while pulling out the skylight and place it on the intended hole that has been made.
Align the Skylight: Ensure that the skylight is properly installed and aligned right on the opening where the actual skylight will be installed. Make sure it does not wobble and is aligned centrally on the vent.
Now that the skylight has been properly installed, the next important step is the process of sealing in order to make the new skylight water-proof in order to provide the homeowner with the best services. Let’s keep going!
Waterproofing and Sealing
Knowing that the skylight is intact, the following important process is to make the roof waterproof in that area. This will help avoid water seepage and overall water damage to your home and belongings.
It is known that waterproofing helps to avoid the leakages of skylights and keeps the entire home free from dampness. Waterproofing is critical in that, through the edges of your skylight, rainwater and moisture infiltrate the structures leading to deterioration of your roof and interior.
Applying the flashing around the skylight is the first step. You have to get your flashing kit, and repeat the process of installing the flashing, securing it 3 times on bottom, side, and the top.
To seal it, you should apply sealant or caulk focusing on edges. However, don’t forget to smoothing and checking for the gaps.
Perfect! Since the skylight is watertight you do not have to worry about water seeping into your home and damaging furniture, or worse, causing an electrical fire, especially in the summer. Next we go ahead and to insulate and do the finishing touches to end your skylight installation

Insulating and Finishing Touches
We are this close to finishing this up! The last one is the proper installation of the skylight; now it’s time to provide additional layers of protection like insulation and the aesthetics of the skylight should also look good.
Installing Interior Trim
Measure and Cut Trim Pieces: Measure the interior opening around the skylight and cut the trim pieces to fit. Common materials for trim include wood, PVC, or metal.
Attach the Trim: Secure the trim pieces around the skylight opening using nails or screws. Make sure the trim fits tightly against the skylight and the ceiling.
Start with the Bottom Piece: Attach the bottom trim piece first, then add the side pieces, and finish with the top piece.
Fill Gaps and Seams: Use caulk or wood filler to fill any gaps or seams between the trim pieces and the ceiling. Smooth it out for a clean finish.
Painting and Finishing
Prime the Trim: If you’re using wood trim, apply a coat of primer to prepare it for painting. This helps the paint adhere better and provides a smoother finish.
Paint the Trim: Choose a paint color that matches your interior décor. Apply at least two coats of paint, allowing each coat to dry completely before applying the next.
Final Touches: Touch up any areas where the paint may have missed or where there are imperfections. Clean the skylight glass and surrounding area to remove any dust or debris from the installation process.
Final Checks
Inspect the Installation: Do a thorough check of the skylight, trim, and insulation. Ensure everything is securely in place and looks neat.
Test the Skylight: Open and close the skylight (if it’s a vented model) to ensure it operates smoothly. Check again for any drafts or leaks.
Congratulations! Your skylight is now fully installed, insulated, and finished, ready to bring natural light and beauty into your home. Enjoy the bright, airy atmosphere it creates and the energy savings it provides. Next, we’ll cover some post-installation tips to keep your skylight in top condition.
Post-Installation Tips
Great job on completing the skylight installation! To ensure your skylight remains in top condition and continues to perform well, You should check for leaks after the first rainfall, clean the glass, inspect the flashing and seals.You could also schedule professional help if needed.
By following these post-installation tips, you’ll ensure that your skylight remains a beautiful and functional feature of your home for many years to come. Enjoy the natural light and enhanced ambiance that your new skylight brings!
Your Guide to Brightening Your Home
By following this comprehensive guide, you’ve equipped yourself with the knowledge to plan, install, and maintain your skylight effectively.
For those who prefer professional assistance or encounter challenges during the installation, CAN Roof Construction is here to help. We specialize in roofing services in the Boston area, including skylight installations. Our experienced team ensures that your skylight is installed correctly, safely, and efficiently. Contact us today for more information.
Enjoy the natural light and beauty that your new skylight brings to your home! Thank you for trusting CAN Roof Construction with your roofing needs.